Instalation guide
Installation depends on operating system that our server/computer is using. Please refer to proper paragraph.
Windows
Administrator permissions required
You need Administrator permissions to install Quickstream Node. In non Active Directory environment, your user must be a member of Administrator groups. In Active Directory environment, you need at least Local Administrator permissions.
Requirements
Please first check if you meet all Quickstream Node requirements before installation.
Download the latest Quickstream Node installation from our website. Then, execute the downloaded file.
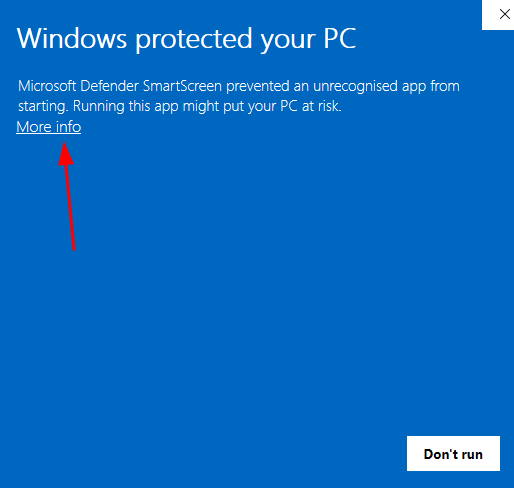
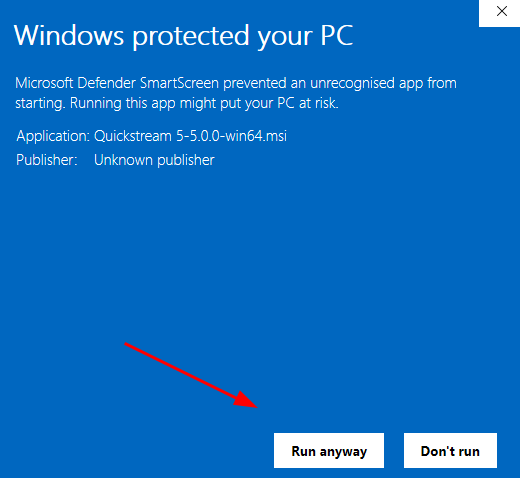
If Defender's SmartScreen prevents you from running the installer, click on More info, and then on Run anyway.
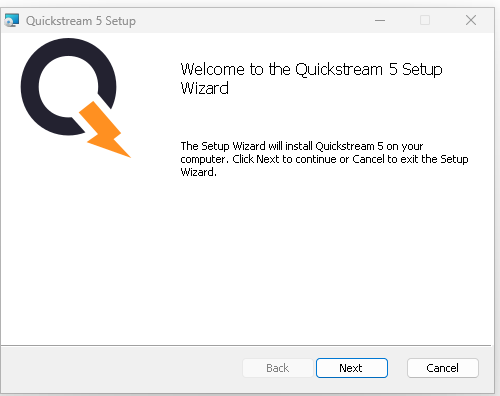
Then follow the instructions.
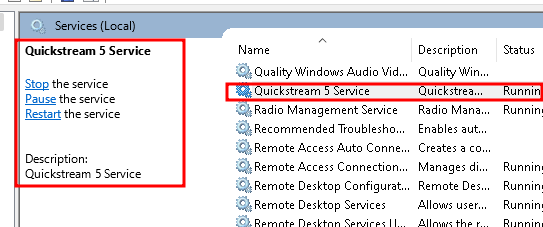
After the installation, check if Quickstream Node is running in services.msc. Please note that Quickstream Node is a headless application running in the background.
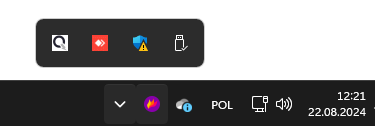
Quickstream Node installs a small setup application that runs in your Windows tray, as shown in the screenshot below.
Node is connecting issue
Due to issues with AWS CA certificates missing from Windows, it is recommended to install them manually! Please follow this guide.
Next steps
Please perform the initial configuration if you have successfully installed the Quickstream Node on your Windows.
Removing Quickstream Node
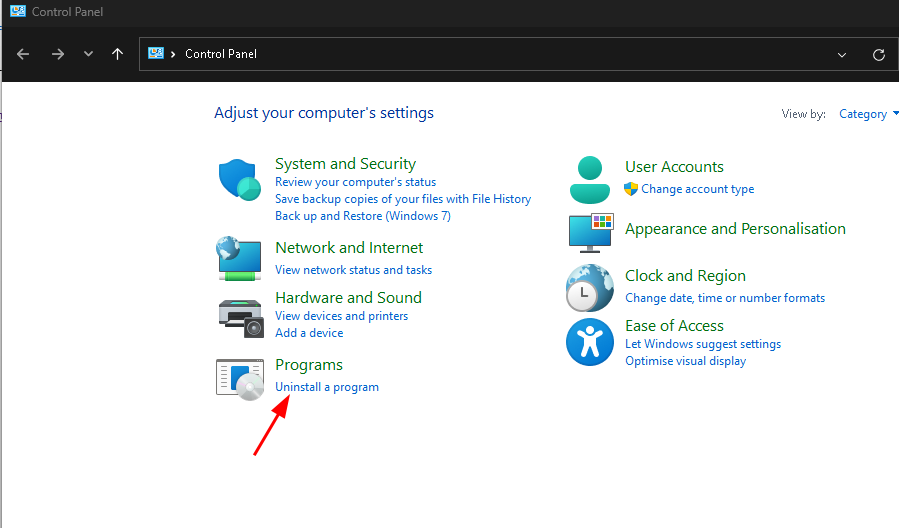
To remove Quickstream Node, go to Control Panel,Programs, and click Uninstall a program.
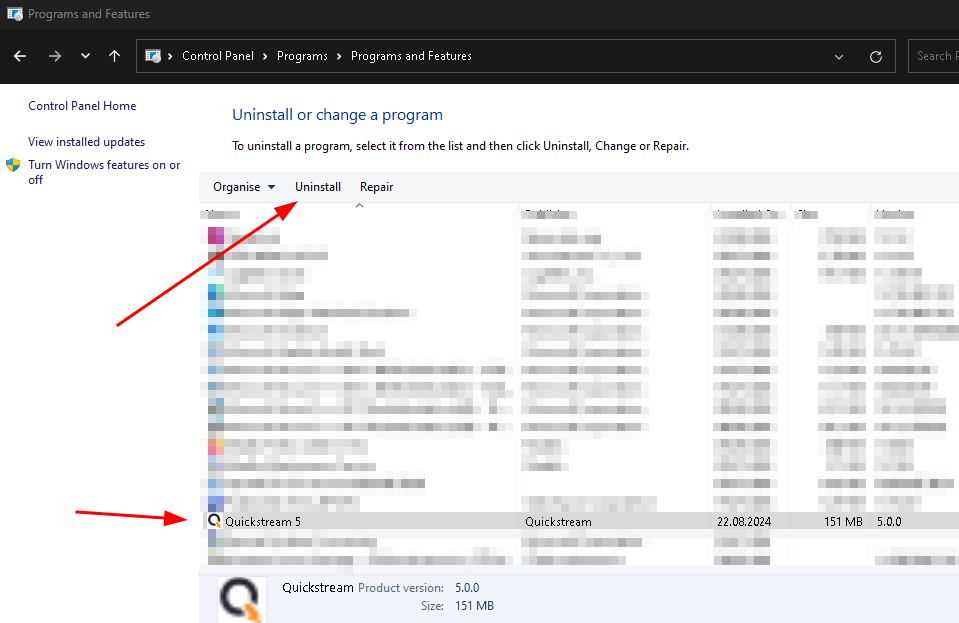
Then, find Quickstream Node, select it, and click on Uninstall.
Finally, follow the instructions from the installer.
Third-party components information
This software uses some third-party components. Information about them can be found here.
This software uses code of FFmpeg licensed under the LGPLv2.1 and its source can be downloaded here.
Linux
Superuser permissions required
Installation requires superuser rights (usually root). You can run a command as a superuser if you log on to superuser account or run them using sudo. You can skip sudo in all commands if you are logged as a superuser.
Before you install Quickstream repository you need to install curl and gnupg, which are required to install gpg key. Also, you need lsb-release to check our system version.
Next, install Quickstream's gpg key to the custom apt keyring. Before Ubuntu 22.04 you could install it to the main apt gpg keyring, but since 22.04 you should create your own keyring.
curl -fsSL http://install.cloud.quickstream.tech/gpg.pub | sudo gpg --dearmor -o /etc/apt/trusted.gpg.d/prod_quickstream.gpg && \
sudo chmod a+r /etc/apt/trusted.gpg.d/prod_quickstream.gpg
Finally, install Quickstream's repository in sources of apt.
echo "deb [arch=amd64] http://install.cloud.quickstream.tech/linux_apt $(lsb_release -cs) main" | sudo tee /etc/apt/sources.list.d/prod_quickstream.list
Check if a repository is working and rebuild apt cache. This command will NOT update/upgrade your machine. It will only download apt cache and check which packages should be updated.
If everything worked fine apt output should look like this. Without any errors while fetching data from Quickstream's repository.
Hit:1 http://pl.archive.ubuntu.com/ubuntu jammy-updates InRelease
[...]
Get:21 http://install.cloud.quickstream.tech/linux_apt jammy/main amd64 Packages [15,8 kB]
Fetched 20,1 kB in 3s (5 798 B/s)
Reading package lists... Done
Building dependency tree... Done
Reading state information... Done
12 packages can be upgraded. Run 'apt list --upgradable' to see them.
If you got error 404 or any other error code while apt was fetching data from Quickstream's repository check if your system is supported.
Hit:1 http://pl.archive.ubuntu.com/ubuntu jammy-updates InRelease
[...]
Err:17 http://install.cloud.quickstream.tech/linux_apt sid Release
  404  Not Found [IP: 52.219.75.202 80]
[...]
How to check system version
Run command lsb_release -a. You can run it as any user. The output should look like this:
LSB Version:    core-11.1.0ubuntu4-noarch:printing-11.1.0ubuntu4-noarch:security-11.1.0ubuntu4-noarch
Distributor ID: Ubuntu
Description:    Ubuntu 22.04 LTS
Release:    22.04
Codename:   jammy
For supported operating systems check this section.
Installing Quickstream Node
Superuser permissions required
Update your apt cache index. Please note that this command will NOT update your system. It will only update the cache index.
Next, install Quickstream Node using the following command. It will also install all Quickstream Node dependencies from Quickstream and from an operating system.
After installing check if Quickstream service is running.
Output should looks like this.
● quickstream5.service - Quickstream 5
     Loaded: loaded (/usr/lib/systemd/system/quickstream5.service; enabled; preset: enabled)
     Active: active (running) since Wed 2024-08-21 09:24:19 CEST; 3h 17min ago
    Process: 1885 ExecStart=/opt/quickstream5/bin/quickstream5 --start-daemon (code=exited, status=0/SUCCESS)
   Main PID: 1942 (quickstream5)
      Tasks: 10 (limit: 38231)
     Memory: 57.1M (peak: 58.5M)
        CPU: 14.948s
     CGroup: /system.slice/quickstream5.service
             ├─1942 /opt/quickstream5/bin/quickstream5 --start-daemon
             └─2803 /opt/quickstream5/bin/quickstream5-engine-transcoding channelId 3
Blocking packages from an accidental upgrade
If you want to protect Quickstream Node from accidental upgrade, you can hold all quickstream5* packages using the following command:
To unprotect Quickstream Node use the following command:
Configuring kernel buffers
It is only required on Linux!
Because Quickstream does not run with root privileges, it is recommended to set manually UDP and network kernel buffer sizes.
Create a file with configuration for Quickstream. You can edit system-wide /etc/sysctl.conf but it is recommended to create separate configs.
Put following config into this file:
net.core.rmem_max=4194304
net.core.rmem_default=4194304
net.core.wmem_max=4194304
net.core.wmem_default=4194304
net.ipv4.udp_mem=8388608 12582912 16777216
Then execute following command to apply config:
Next steps
If you successfully installed Quickstream Node on your Linux, please perform the initial configuration.
Removing Quickstream Node
If your Quickstream Node is connected to Quickstream Cloud, it is recommended to disconnect it from Quickstream Cloud first. Please refer to the initial configuration guide. Alternatively, use Quickstream Cloud nodes management to remove your Node.
To remove Quickstream Node without deleting its configuration type
To remove Quickstream Node and its configuration use.
Finally, uninstall unneeded dependencies. Note that is will uninstall all unneeded system dependencies.
Debug/Verbose logs are never removed automatically!
Neither of the options purge nor remove deletes debug or/and verbose logs. Please delete them manually from /opt/quickstream5 folder.
Do not remove /opt/quickstream5 folder!
Do not remove /opt/quickstream5 folder! It will corrupt apt/dpkg database.
Third-party components information
This software uses some third-party components. Information about them can be found here.
This software uses code of FFmpeg licensed under the LGPLv2.1 and its source can be downloaded here.